/
Slack connector for JIRA server
- J Soft
- Nancy (Unlicensed)
Owned by J Soft
Adjust your proxy or firewall settings
Features
- Send a notification to Slack channel
- Create a dedicated channel for urgent issue
- Filter setting by JQL
- Can connect multiple Slack teams per project
- Custom Slack message format per channel . See detail Message format
- Send a direct message when someone mentioned me . See detail Direct message
To create Slack app:
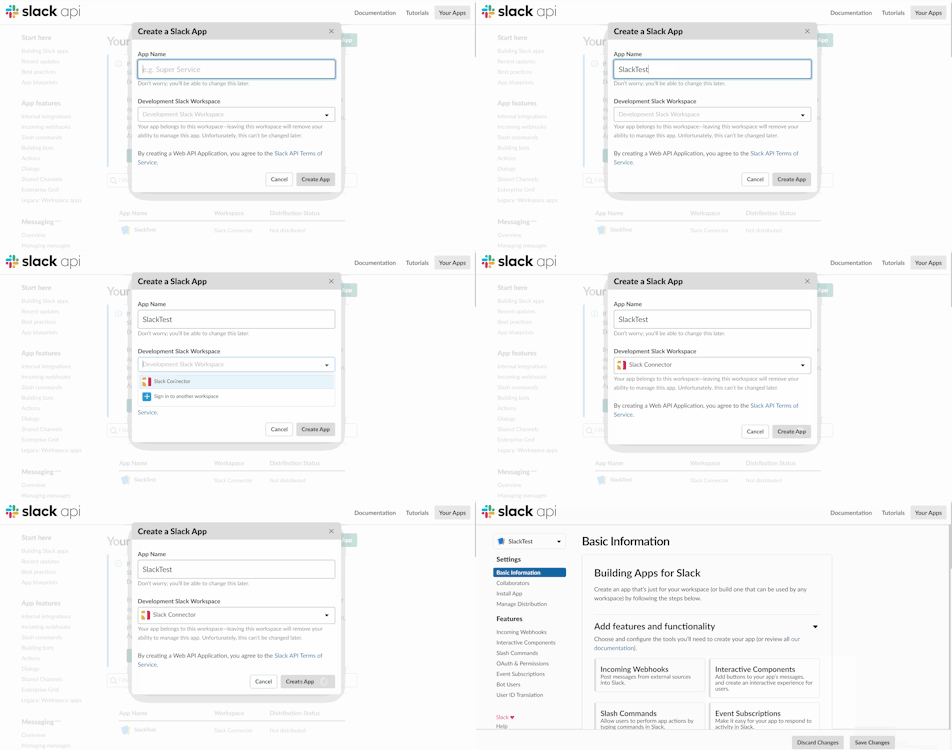
Step 1: Sign in your Slack team at https://slack.com/signin
Step 2: Go to this link https://api.slack.com/apps/new
Step 3: Input App Name, select Development Slack Workspace then click Create App
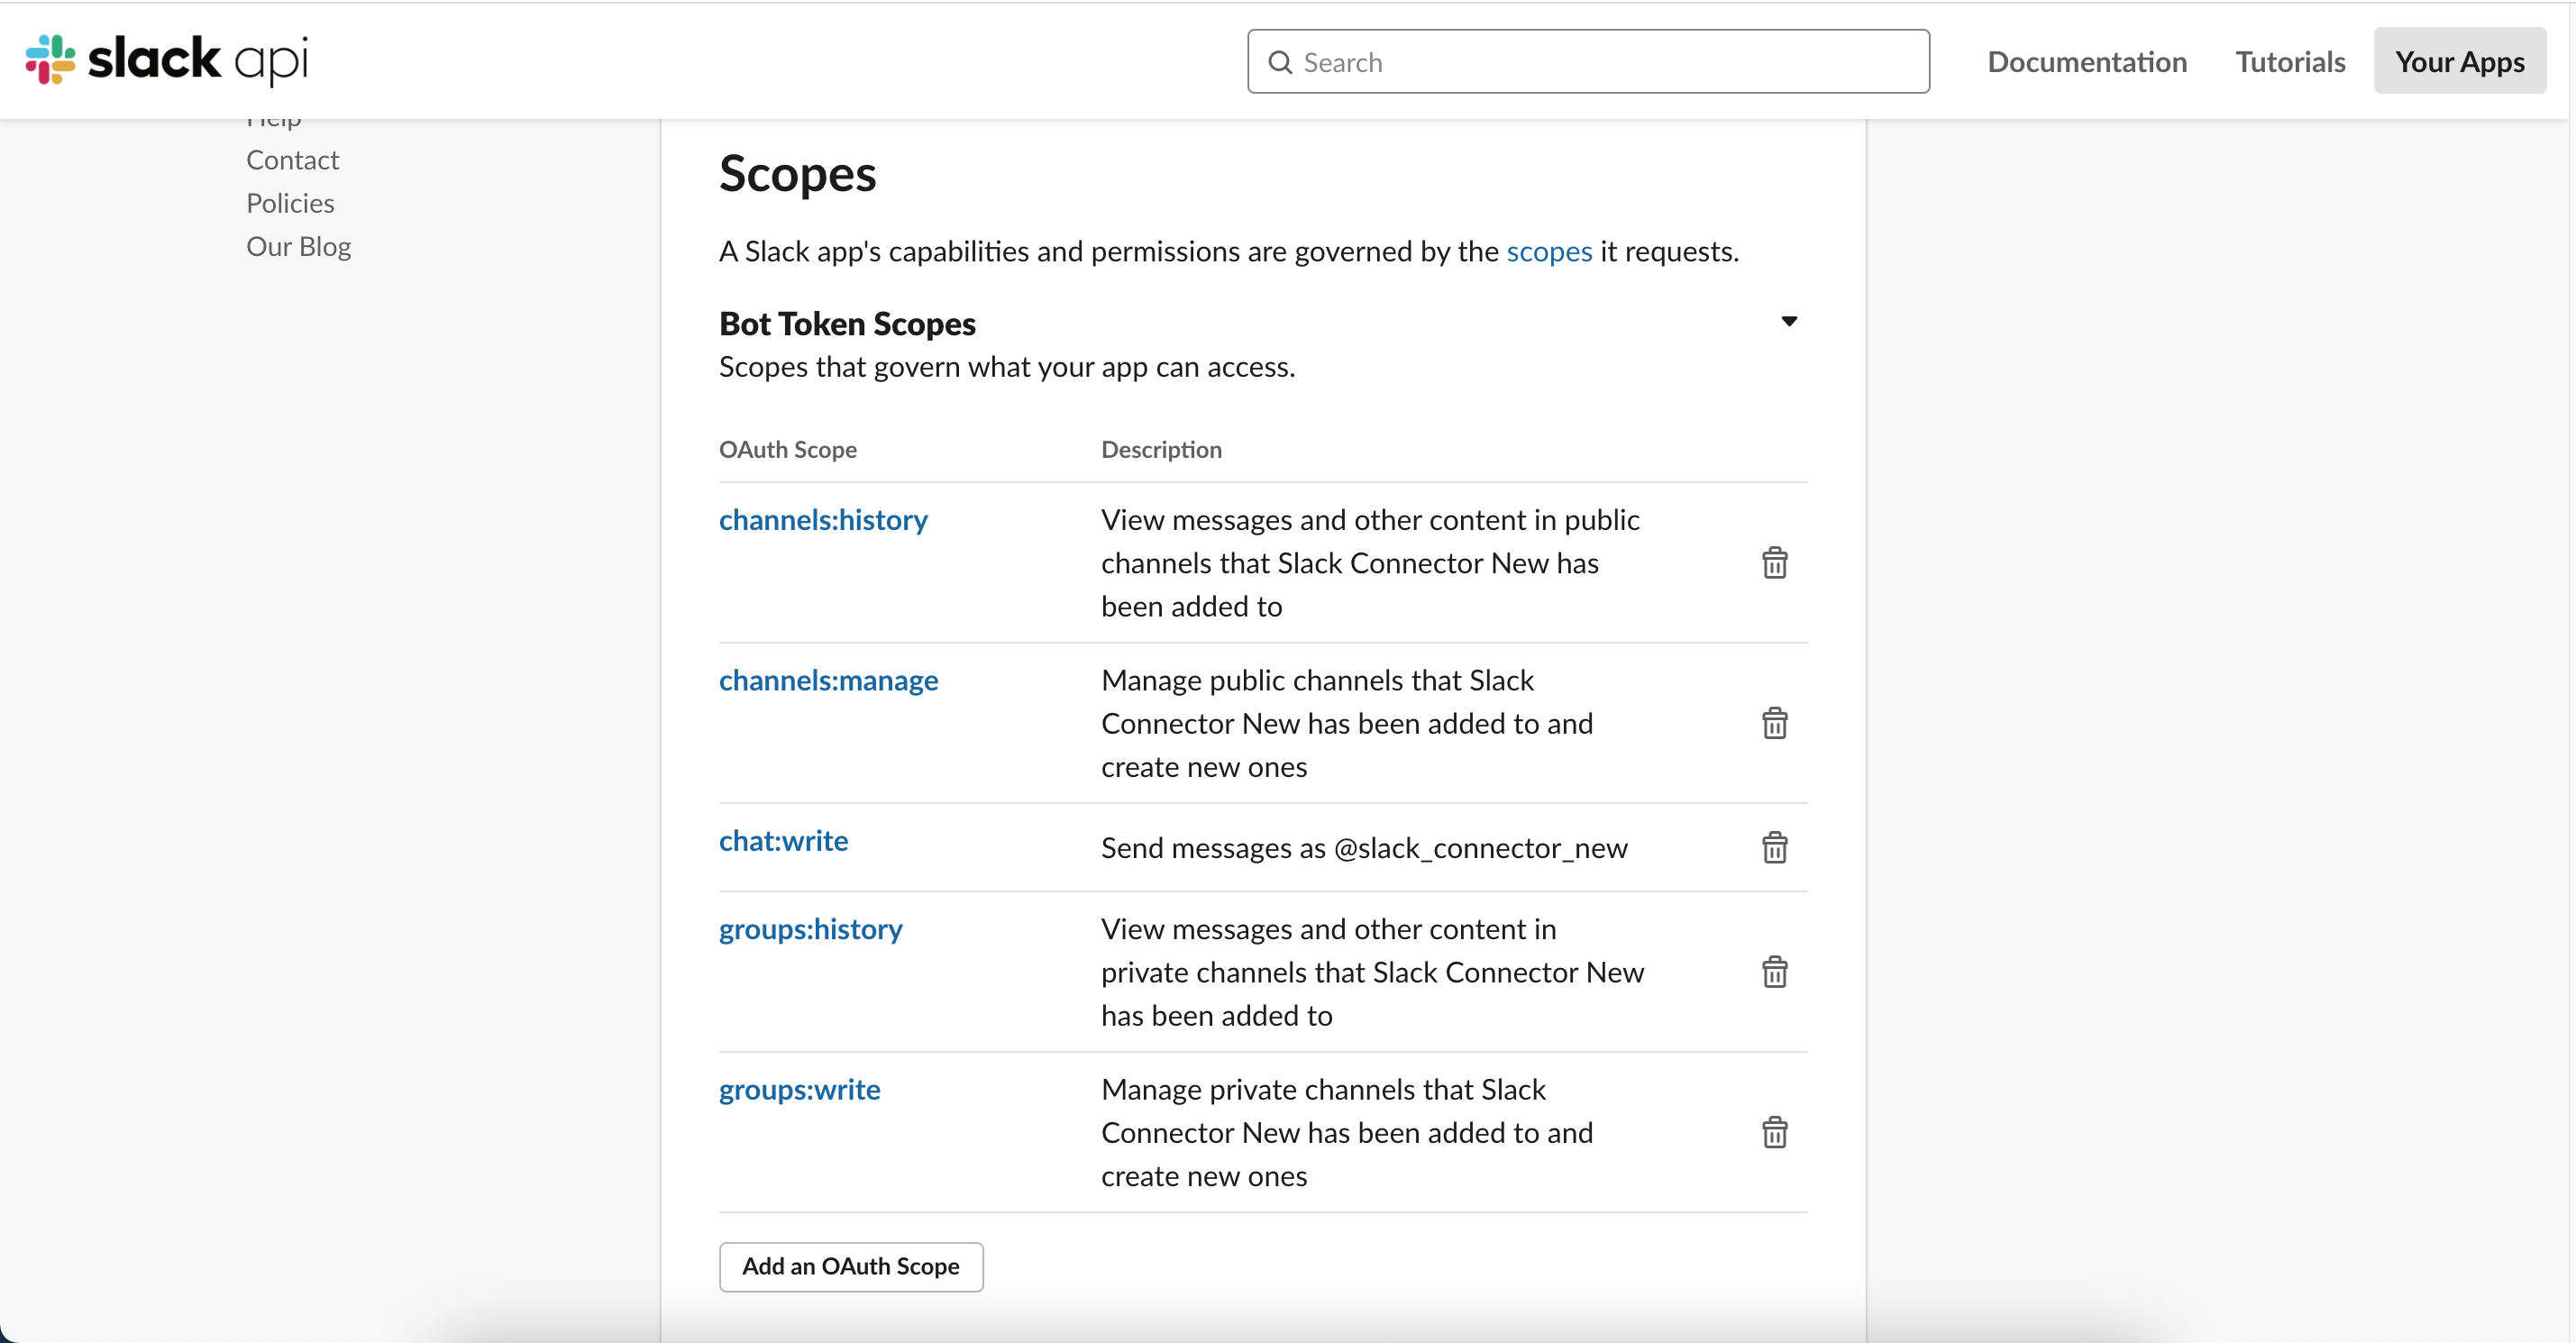
Step 4 : Setup permissions , Click on OAuth & Permissions and setup permission as below
To set up Slack app for Jira:
Precondition: Already created slack app
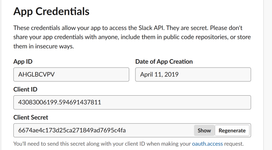
Step 1: At Basic Information of Slack API page, scroll down to App Credentials
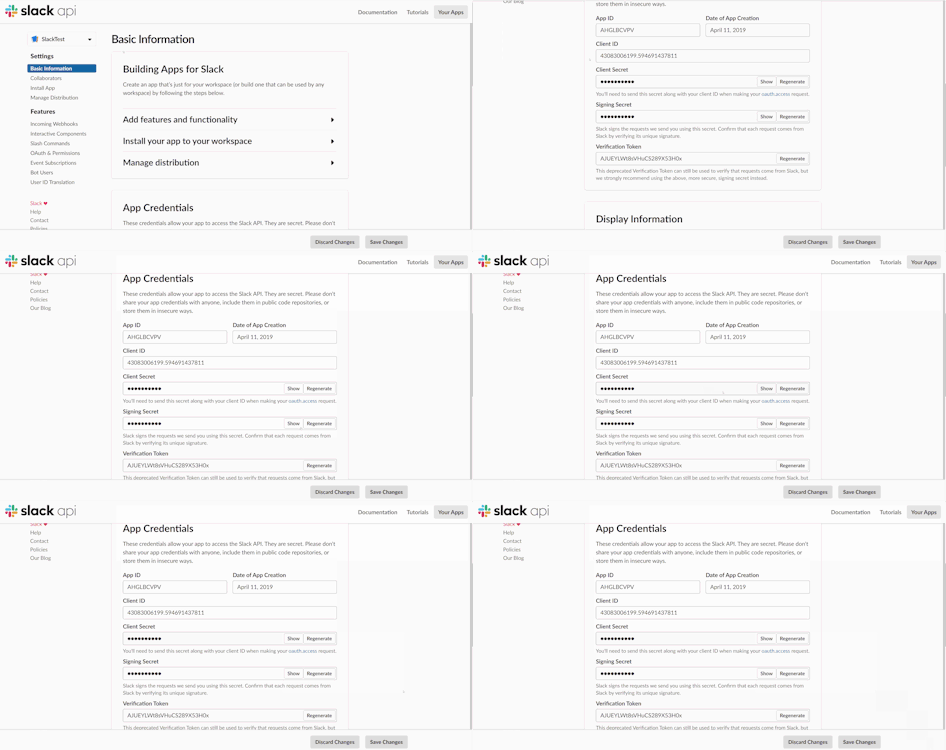
Step 2: Click on Show button at Client Secret, copy Client ID and Client Secret
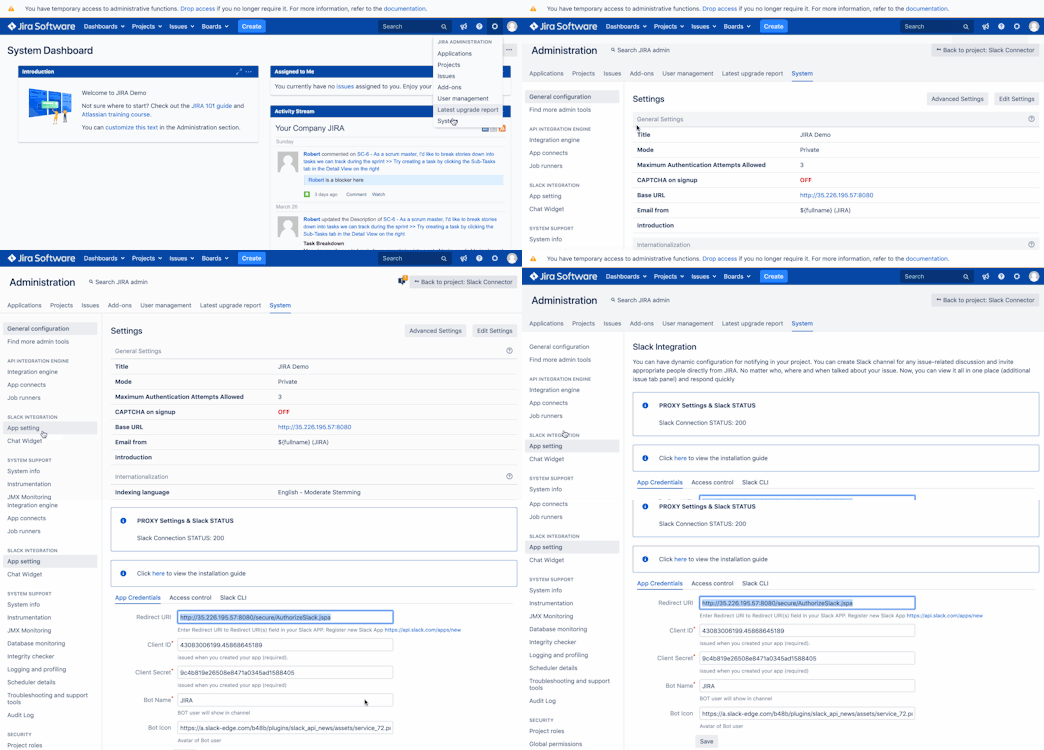
Step 3: Log in to JIRA Server as an administrator
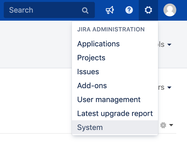
Step 4: Choose Settings button at top right corner
Step 5: At drop down menu, select System
Step 6: At the left hand side, scroll down until Slack Integration option > choose App setting
Step 7: At App Credentials tab, paste Client ID and Client Secret at step 2 to text field then copy the Redirect URI
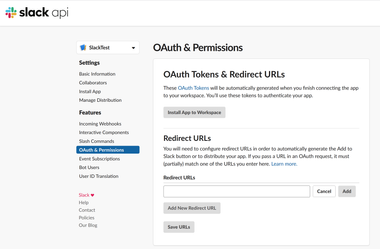
Step 8: Back to Slack API page, select OAuth & Permissions at left side menu
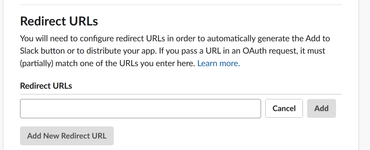
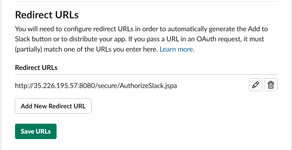
Step 9: Paste the Redirect URI at Step 7 to text field the click on Add button
Step 10: Click on Save URLs button → Done
To Add slack team and set up notification:
Step 1: Log in to JIRA Server as an administrator
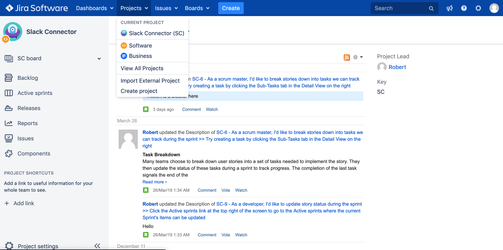
Step 2: Select your Current Project from "Projects" dropdown on the top menu
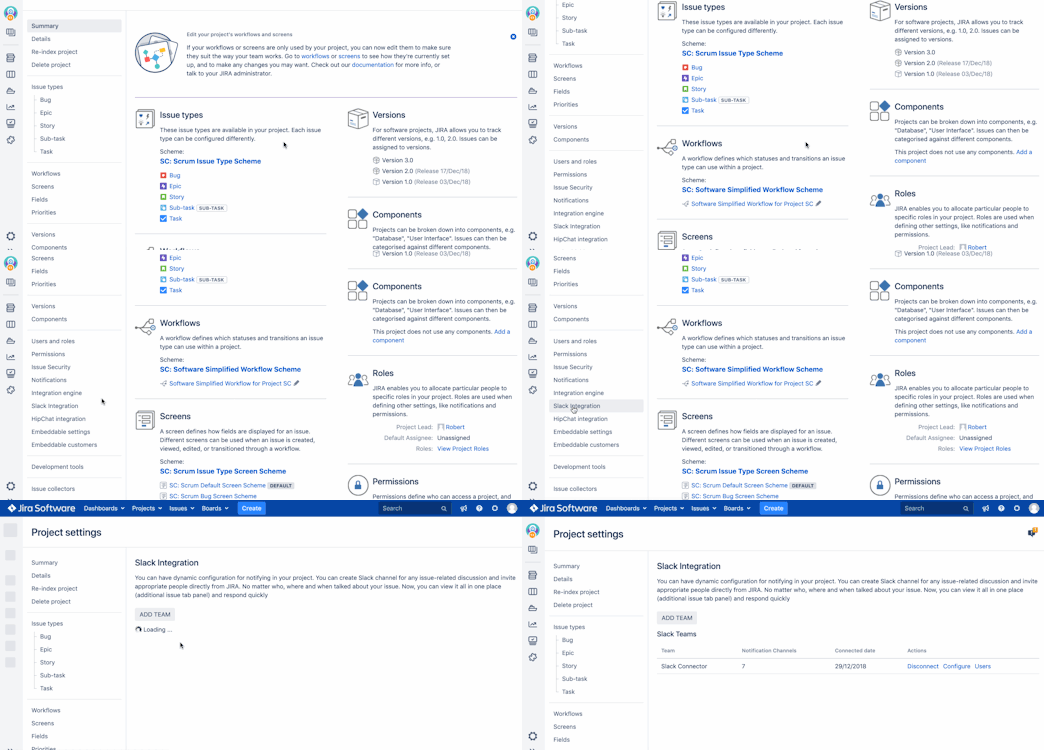
Step 3: Expand the left menu, click on
Step 4: At the left hand side, scroll down until Slack Integration option
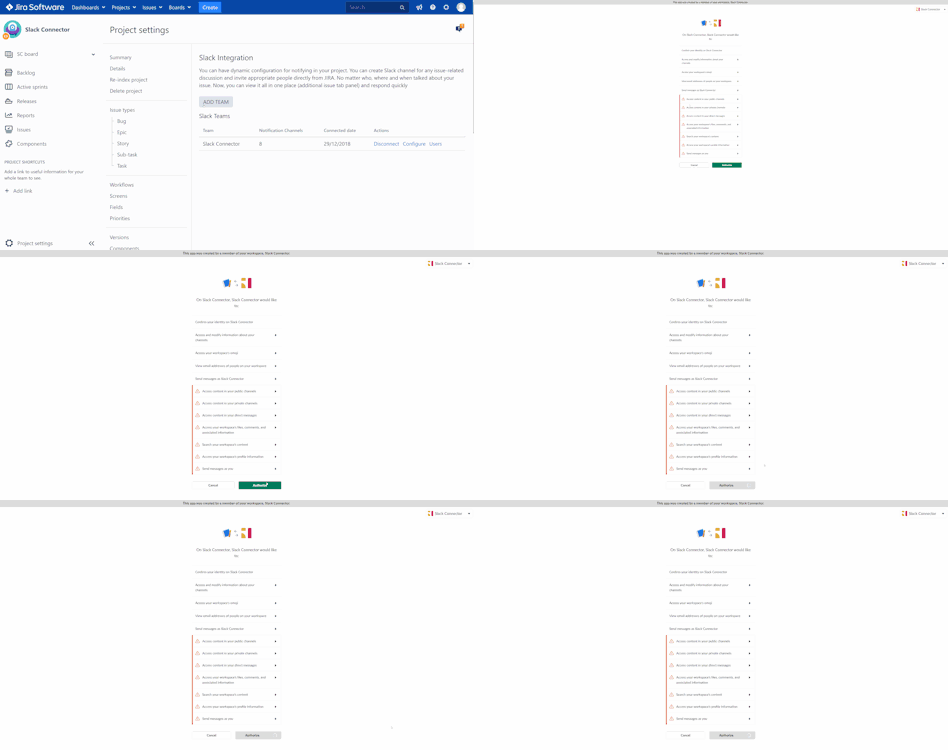
Step 5: Click on button
Step 6: Click on Authorize button
Add slack team done
Step 7: Click on Configure button to set up notification
Step 8: At General tab, configure Channel to receive notification at
Step 9: Add your filter at
Step 10: Choose which event to be triggered at
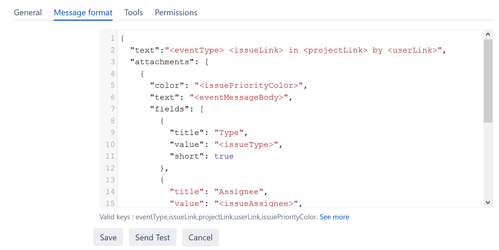
Step 11: Select Message Format tab to input message for notification
Step 12: Enter your message in JSON format. See how to custom message format in details at Message format
Step 13: Click on Send Test button. Then log in Slack app to review the message
To test Slack notification : Create an issue , then you will got a message in configured channel
To create a dedicate channel for urgent issue:
Step 1: Log in to Jira then select an issue that need to dedicate channel
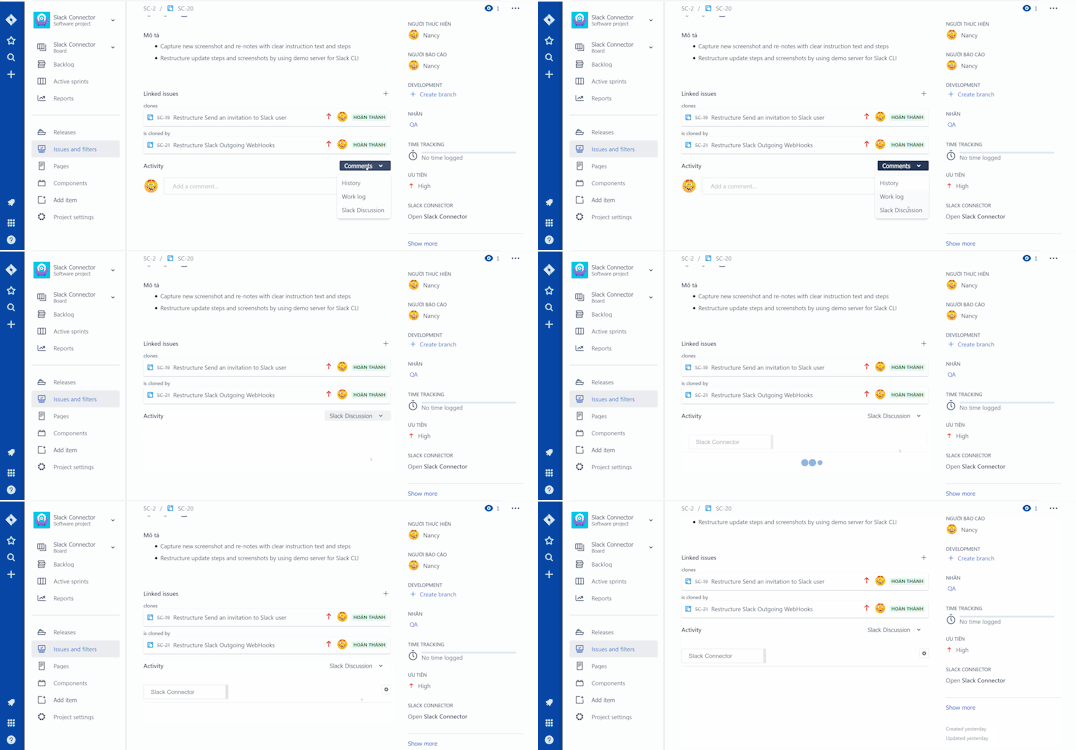
Step 2: Scroll down to Activity section, select drop down menu and choose Slack Discussion
Step 3: Click on Setting icon
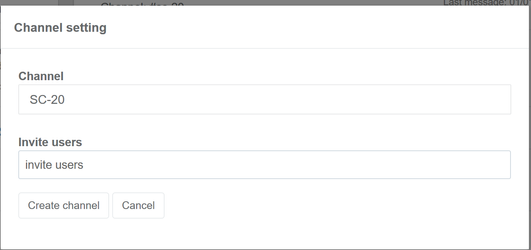
Step 4: At channel setting, input Channel name and click on Invite User to add slack member to channel
Step 5: Then click on Create channel
Related pages
Permission for Create Slack Channel, View Slack Tab and Private Channel
Read with this
Custom fields
Custom fields
Read with this
Live chat for JIRA Issue
Read with this
Database Information
Read with this
Slack for JIRA - Caching
Read with this